How to Install Sewer Pipes Correctly Yourself
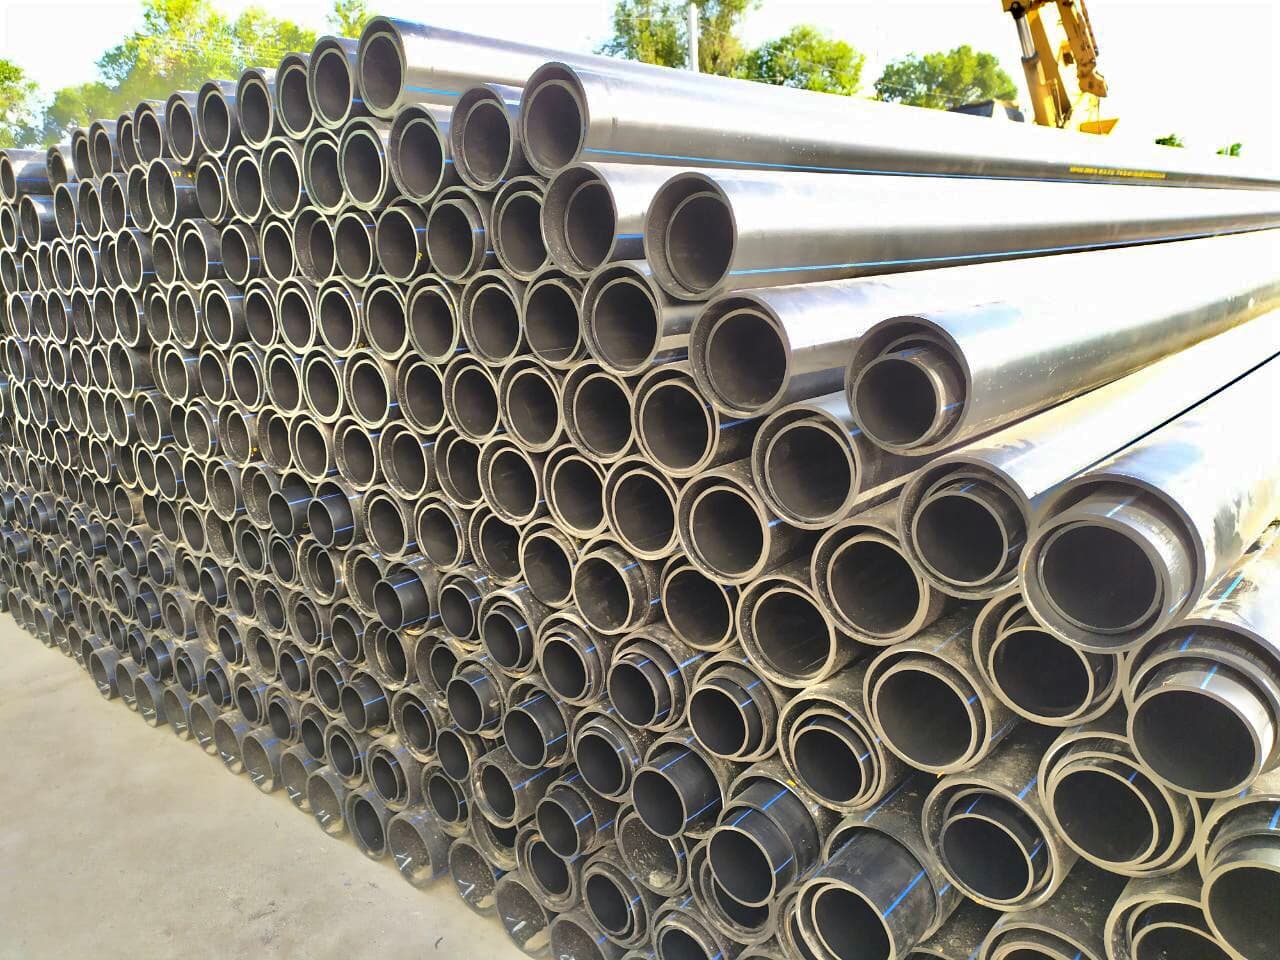
Sewer pipes are installed from the outlet to the fixtures: first the septic tank and a trench with a sand bed, then pipes laid with sockets facing the flow at a constant slope (about 2 cm per metre for d110), cleanouts at turns and a water test before backfilling. Indoors use pipes made for internal sewers; outdoors use high ring-stiffness pipes (SN4 and above). Check exact slopes, depth and diameters against the design for your region.
What should you prepare before installation?
Draw a layout: connection points (toilet, sink, bath, washing machine), the stack, the outlet from the house, and the septic tank or manhole. Mark section lengths, turns and cleanout positions; the plan makes it easier to count pipes and fittings.
Choose the material. Indoors, grey internal sewer pipes of polypropylene or PVC are usual; outdoors, high ring-stiffness pipes (orange PVC or double-wall corrugated). We cover which diameter is needed for each section in a separate article. Take pipes and fittings from the same manufacturer: socket and seal dimensions will match.
You will need a tape measure, a level, a saw or pipe cutter, a file or chamfering tool, and lubricant for the seals.
In what order should sewer pipes be installed?
The general order for a private house:
- Install the septic tank or manhole, taking the pipe entry depth into account.
- Dig a trench with a constant slope from the house to the septic tank and make a sand bed free of stones, usually 10–15 cm.
- Indoors, assemble the stack from the bottom up, then the horizontal branches to the fixtures. Secure each section with clamps.
- Run the outlet through the foundation in a sleeve so that building settlement does not damage the pipe.
- Lay the outdoor line from the septic tank towards the house: this way the sockets face the flow.
- Put cleanouts at turns, on long runs and at the bottom of the stack, and extend the top of the stack above the roof for ventilation.
- Test the system with water and only then backfill the trench.
How do you join socket pipes correctly?
A socket joint is made without welding or glue, but it needs care. Cut the pipe exactly square, chamfer the plain end, clean the socket and make sure the seal sits evenly. Lubricate the pipe end with a special or silicone lubricant and push it in fully.
Then pull the pipe back by about 1 cm (check the exact value in the manufacturer's instructions): this gap compensates for thermal expansion. Without it, hot wastewater may push the joint out of the socket.
Lay pipes with sockets facing the flow so that waste does not catch on the next pipe's edge. On a horizontal run, build a turn from two 45° bends instead of one 90° bend: there will be fewer blockages.
What mistakes are most common when laying sewers?
In practice these mistakes repeat most often:
- grey internal sewer pipes buried in the ground: they are not designed for soil pressure and frost;
- wrong slope: too little causes stagnation, too much leaves solids in the pipe;
- diameter smaller than required, for example under 110 mm for a toilet;
- sharp 90° turns instead of two 45° bends;
- the pipe resting on stones or an uneven base, backfilled with stony soil and debris;
- a section under a driveway laid without protection or higher stiffness;
- no cleanouts at turns and on long runs;
- no chamfer, a dislodged seal, no expansion gap;
- depth that ignores frost penetration, with no insulation;
- no water test before backfilling.
How do you test the system before backfilling?
Test before the trench is filled in. Indoors, open the taps, flush the toilet and fill and drain the bath. Walk along the run, check joints with a dry tissue and make sure water drains without gurgling or standing.
Fill the outdoor line with water after closing off the section with a plug, and check that the level does not drop and the sockets do not leak. Check the slope with a level: there should be no sags or reverse slopes along the length.
Start backfilling with sand at the sides, compacting it, then cover the pipe with a sand layer (usually 20–30 cm); only after that return soil without large stones. Check depth and insulation against the norms and design for your region.
Frequently asked questions
- Can you tap into an existing sewer pipe?
- Yes. A tee is installed in place of a cut-out section, and in a socket system an expansion piece is added so the assembly can be fitted. The branch is connected at 45° in the direction of flow rather than perpendicularly. All joints are tested with water.
- Does a sewer stack need ventilation?
- Yes. The stack is extended above the roof (a vent pipe) with a diameter not smaller than the stack itself. Otherwise a large discharge creates suction that breaks water seals and odour enters the room.
- How can you reduce sewer pipe noise?
- Choose pipes with a sound-absorbing structure, fix them with rubber-lined clamps and avoid rigid contact with the wall. Avoid sharp 90° turns and waste falling from a great height.
- Is approval needed to connect to a central sewer?
- If you connect to a central network, the technical conditions and tie-in procedure are set by the operating organisation. A standalone system with a septic tank is usually designed according to the norms for your area.